Sublimation Problems and How to Fix Them
When a print comes out wrong, the blank usually tells you why. This guide walks through the problems crafters run into most, what each one looks like, the usual causes, and what to change on your next press.
By the CraftSizer team · Updated 2026-10-11
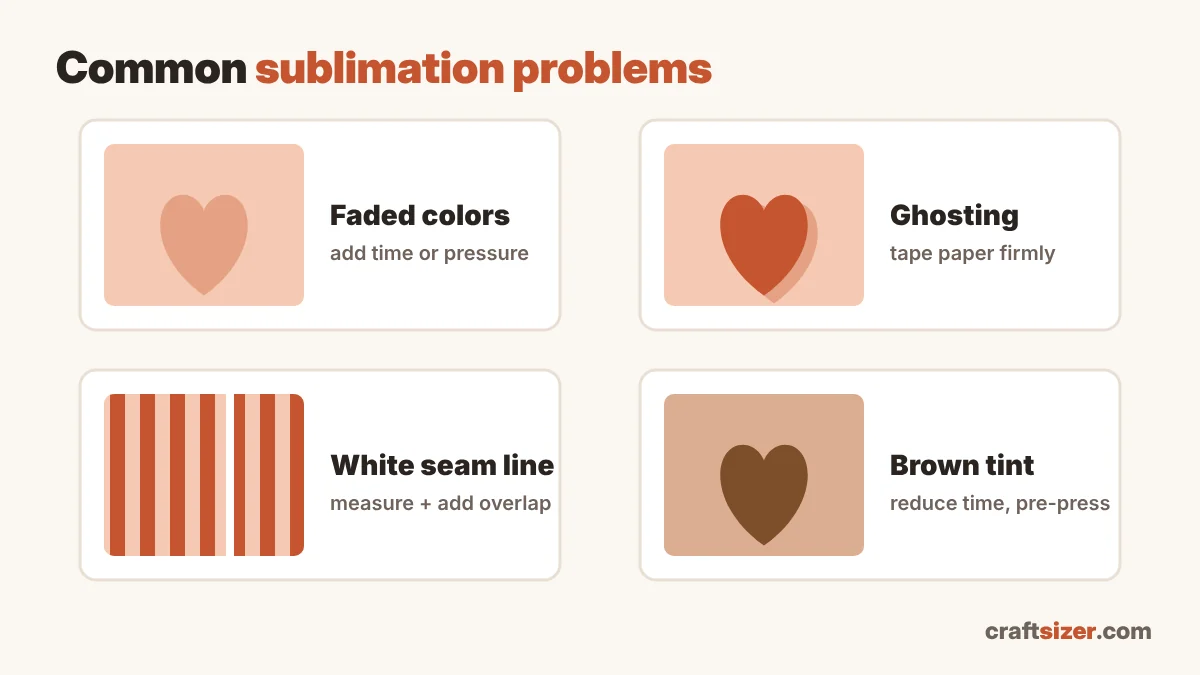
One rule before anything else: change one thing at a time. If you raise the temperature, add time and switch paper all at once, you won't know which change fixed it, and you'll be guessing again on the next blank.
1. Faded, dull or patchy colors
The design transferred, but it looks washed out, or some areas are lighter than others.
Common causes
- Not enough heat or time. The ink didn't fully turn to gas and bond with the coating.
- Uneven pressure. Lighter patches show where the paper wasn't pressed firmly against the blank.
- The blank isn't high-polyester or coated. Sublimation only bonds with polyester and special polymer coatings. Cotton and uncoated surfaces won't hold the ink.
- Printed on the wrong side of the paper. The coated side is usually the brighter white side.
- Printer settings. A "plain paper" or draft mode lays down less ink.
Fixes
- Compare your settings with the sublimation time and temperature chart, then add time in small steps: about 10 seconds for flat items, 30–60 seconds for oven-pressed tumblers and mugs.
- For shirts, pre-press for a few seconds to remove moisture and flatten the fabric.
- For tumblers, make sure shrink wrap is tight with no loose areas, or rotate the tumbler in a press that doesn't wrap fully around.
- Use a higher-quality print setting. Many crafters also let the print dry for a few minutes before pressing.
2. Ghosting (a faint double image)
You see a blurry shadow of the design, slightly offset from the main print.
Common causes
The paper moved during or right after pressing. This happens when the press opens and the paper lifts, when you peel too slowly on a hot blank, or when the paper shifts as shrink wrap tightens.
Fixes
- Tape the paper down firmly with heat-resistant tape: at least the corners on flat items, and the seam plus top and bottom edges on tumblers and mugs.
- Peel in one smooth motion straight away, without letting the paper slide across the hot surface.
- On fabric, a light spray of heat-resistant adhesive made for sublimation can stop paper from shifting.
3. A white line at the seam of a tumbler or mug
A thin unprinted stripe where the two ends of the design meet.
Common causes
The template is a little narrower than the blank's circumference, usually because it came from a chart made for a different brand.
Fixes
- Measure your blank (see how to measure a tumbler) and add a small overlap of about 0.1 inch.
- Get the exact width from the tumbler template size calculator, or the mug template calculator for mugs.
- Use a background that continues across both edges, so the overlap blends in.
4. Brown, yellow or muddy tint
Whites look beige, or the whole design looks darker and warmer than on screen.
Common causes
- Too much heat or time, which scorches fabric or overcooks the coating.
- Moisture in shirts or paper turning to steam.
- Color management. Printing without the right ICC profile for your ink and paper often shifts colors.
Fixes
- Reduce time first, in small steps. If that isn't enough, lower the temperature slightly.
- Pre-press shirts and store sublimation paper in a dry place.
- Use the color profile your ink supplier recommends for your printer and paper.
5. Blurry edges or blowouts
The edges of shapes and text look fuzzy, or color bleeds outward in a haze.
Common causes
- Too much heat or time, so the ink spreads beyond the design.
- Too much pressure on soft items like mousepads and coasters.
- A low-resolution image, which can look blurry even when the press is perfect.
Fixes
- Reduce time slightly and lighten pressure on soft blanks.
- Run your file through the DPI checker. Below about 150 DPI at your print size, blurriness is coming from the image, not the press.
6. Press box and marks on shirts
A visible rectangle or shiny outline where the heat press platen touched the fabric.
Fixes
- Use a pressing pillow or foam inside the shirt so only the design area is pressed hard.
- Cover the shirt with a sheet of parchment or protective paper.
- Reduce pressure slightly. Polyester shows press marks more easily than blends.
Quick diagnosis table
| What you see | Most likely cause | Try first |
|---|---|---|
| Faded or patchy colors | Low heat, time or pressure | Add a little time |
| Faint double image | Paper moved | Tape more firmly, peel smoothly |
| White line at the seam | Template too narrow | Measure the blank, add overlap |
| Brown or yellow tint | Too hot, or moisture | Reduce time, pre-press |
| Fuzzy edges | Too hot, or low-resolution image | Check DPI, reduce time |
| Rectangle mark on shirt | Press edge pressure | Use a pressing pillow |
Settings vary between presses, ovens, inks and blanks. Use these fixes as a starting point, and always follow the instructions for your specific blank.
Frequently asked questions
Why are my sublimation prints faded?
The most common causes are too little heat, time or pressure; a blank that isn't high-polyester or coated; or printing on the wrong side of the sublimation paper.
What causes ghosting in sublimation?
Ghosting happens when the paper moves during or after pressing. Tape the paper down firmly and peel in one smooth motion.
Why does my tumbler have a white line at the seam?
The template is narrower than the tumbler. Measure your blank's circumference and add a seam overlap of about 0.1 inch.