
How to Sublimate a Mug
A sublimated mug is one of the easiest and most popular blanks to start with. The process takes only a few minutes, but a few details decide whether you get crisp, bright colors or a faded, blurry wrap. Here's how to do it with a mug press or a convection oven.
By the CraftSizer team · Updated 2026-11-11
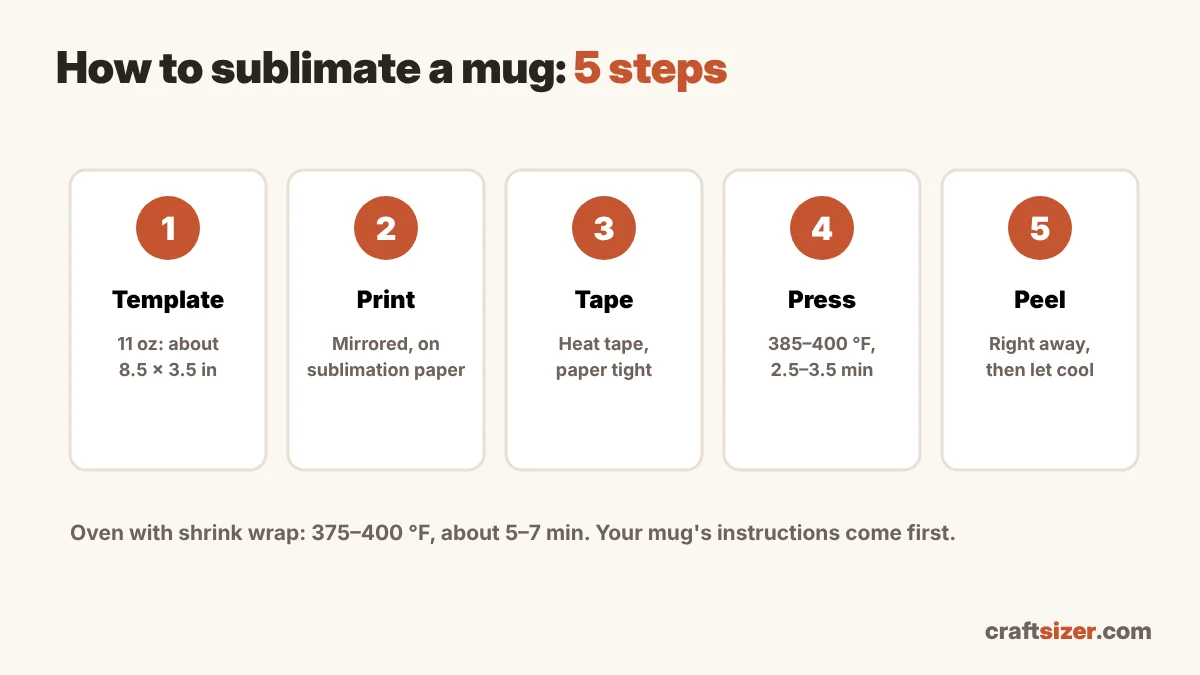
What you need
- A sublimation-coated mug (regular ceramic mugs won't work)
- A sublimation printer, ink and sublimation paper
- Heat-resistant tape
- A mug press, or a convection oven used only for crafts plus shrink wrap sleeves
- Heat-resistant gloves
Step 1: Get the template size right
A mug template is smaller than the mug, because you leave a gap around the handle and a strip at the top and bottom where the mug curves.
| Mug | Typical full-wrap template | Pixels at 300 DPI |
|---|---|---|
| 11 oz | about 8.5 × 3.5 in | 2550 × 1050 |
| 15 oz | about 9 × 4 in | about 2700 × 1200 |
Mugs vary between brands, so measure yours. The mug template calculator turns two quick measurements into an exact template, including each side of a two-sided design. Not sure which mug to buy? See 11 oz vs 15 oz mugs.
Step 2: Print mirrored
Turn on mirror (flip horizontal) in your print settings, so text reads the right way on the mug. Print on the bright white side of the sublimation paper. Two 11 oz wraps fit on one letter sheet if you run them along the 11-inch side; see the paper size guide.
Step 3: Tape it tight
Trim the print, wrap it around the mug with the printed side against the mug, and center it opposite the handle (or on the side you want facing out). Tape it firmly at the seam and the edges. The paper must not move during pressing, or you get blurry, doubled edges.
Step 4: Press
| Method | Temperature | Time |
|---|---|---|
| Mug press (11 oz) | 385–400 °F (196–204 °C) | about 2.5–3.5 min, medium-firm pressure |
| Convection oven + shrink wrap | 375–400 °F (191–204 °C) | about 5–7 min |
Common starting points. Your mug's instructions come first, and every press reads a little differently. 15 oz mugs often need a larger press element and a little more time.
Full chart for 21 blanks, with a press timer: sublimation time and temperature chart.
Step 5: Peel and cool
Wearing gloves, remove the mug and peel the paper off right away, in one smooth motion. Set the mug on a heat-safe surface to cool. Some crafters dip it in cool water to stop the ink spreading; check whether your mug brand allows that, since sudden temperature changes can crack some ceramics.
Common mug problems
| Problem | Likely cause | Try |
|---|---|---|
| Faded at the top or bottom | Uneven pressure in the press, or a tapered mug | Adjust the press pressure; check the mug is straight |
| Blurry or doubled edges | Paper moved | Tape tighter; peel straight away in one motion |
| Pale colors all over | Not enough time or heat | Add 15–30 seconds |
| Brown or yellow tint | Too much time or heat | Reduce the time slightly |
| White line at the seam | Template a little too narrow | Measure and resize the template |
More fixes in sublimation problems and how to fix them.
Frequently asked questions
What size is a sublimation template for an 11 oz mug?
About 8.5 × 3.5 inches for a full wrap, or 2550 × 1050 pixels at 300 DPI. A 15 oz mug is usually about 9 × 4 inches. Measure your mug, since brands vary.
How long do you press a sublimation mug?
In a mug press, about 2.5 to 3.5 minutes at 385 to 400 °F with medium-firm pressure. In a convection oven with shrink wrap, about 5 to 7 minutes at 375 to 400 °F. Follow your mug's instructions first.
Do you mirror sublimation prints for mugs?
Yes. Turn on mirror or flip horizontal when printing, so text reads correctly on the mug.
Can you sublimate a regular ceramic mug?
No. Sublimation needs a polymer coating for the ink to bond with. Use mugs sold as sublimation blanks.