
How to Apply HTV with a Household Iron
You don't need a heat press to make an iron-on shirt. A regular household iron works for most standard HTV, as long as you get three things right: enough heat, enough pressure and no steam. Here's how to do it so the design doesn't peel after the first wash.
By the CraftSizer team · Updated 2026-11-17
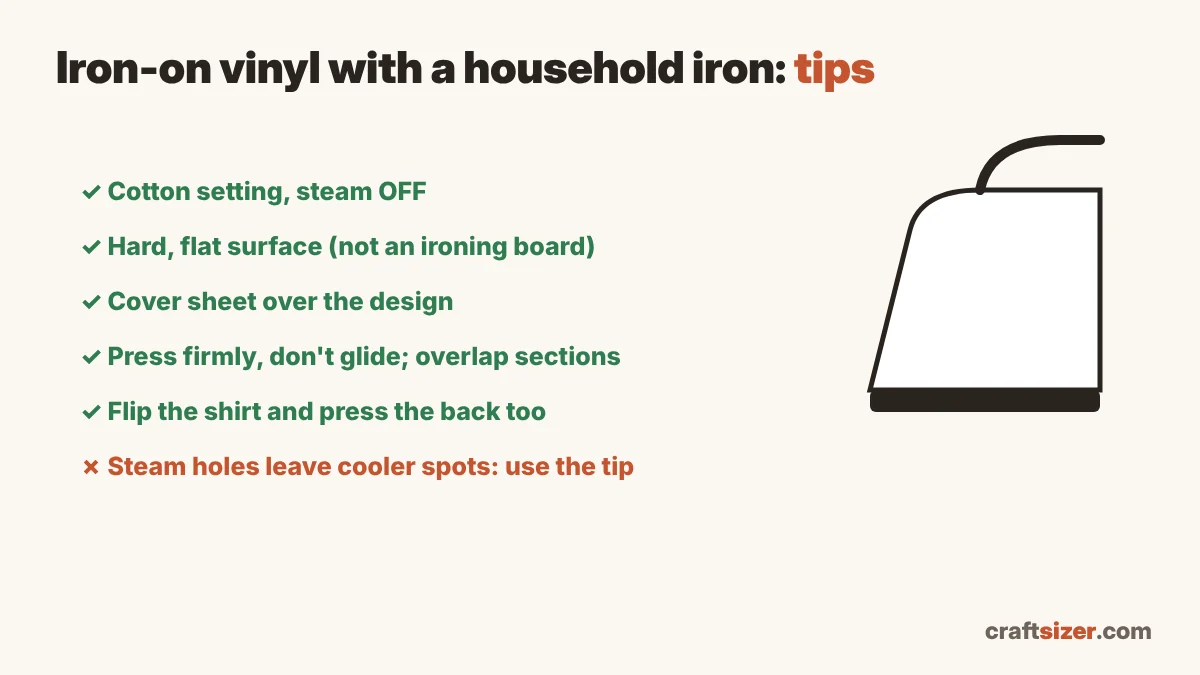
What you need
- Your cut and weeded HTV (cut mirrored, shiny carrier side down)
- A household iron with the steam turned off and the water emptied
- A hard, flat, heat-safe surface: a table with a folded towel, or a pressing mat (an ironing board is too soft and wobbly)
- A cover sheet: parchment paper, a Teflon sheet or a thin cotton cloth
Iron settings
Most standard HTV needs the iron's cotton or cotton/linen setting (the hottest setting on many irons), with no steam. Glitter, foil and specialty vinyls can differ, so check your vinyl's instructions. Many brands publish separate iron settings alongside heat press settings.
Step by step
- Pre-heat the iron fully, and pre-press the shirt for a few seconds to remove moisture and wrinkles.
- Place the design with the carrier sheet up. Front designs usually start 3–4 inches below the collar on adult shirts; see the placement guide.
- Cover it with the cover sheet.
- Press firmly, don't glide. Push down with real body weight and hold for the time your vinyl recommends (often around 15–30 seconds per section with an iron). Lift the iron, move to the next section, and overlap slightly so every part gets heat.
- Avoid the steam holes. The holes leave cooler spots; use the solid tip and edges for small details.
- Flip the shirt and press the back of the design area for a few seconds to help the adhesive grip.
- Peel the carrier warm or cold, as your vinyl says. If a corner lifts, lay it down, cover it and press again.
Make it last
- Wait about 24 hours before the first wash.
- Wash inside out in cool or warm water, and tumble dry low or hang dry.
- Never iron directly on the vinyl afterward.
Iron vs heat press
| Household iron | Heat press / EasyPress | |
|---|---|---|
| Heat | Uneven, with cooler spots at the steam holes | Even across the plate |
| Pressure | Your body weight | Even and repeatable |
| Best for | Small designs, the occasional project | Larger designs, selling, multi-layer HTV |
If you're making more than a few shirts, a heat press saves time and gives more reliable results. See how to use a heat press.
Size it right first
Most adult front designs are 9–11 inches wide; with an iron, smaller designs are easier to press evenly. The HTV shirt design size calculator gives the size for each shirt, and how to layer HTV covers multi-color designs.
Frequently asked questions
Can you apply HTV with a regular iron?
Yes, for most standard HTV. Use the cotton setting with steam off, a hard flat surface and a cover sheet, and press firmly in sections instead of gliding.
What setting should my iron be on for HTV?
Usually the cotton or cotton/linen setting, with no steam. Check your vinyl's instructions, since glitter and specialty vinyls can differ.
Why is my iron-on vinyl peeling off?
Usually not enough heat or pressure, a soft surface like an ironing board, or steam. Press firmly on a hard surface with the steam off, and press the back of the fabric too.
Can you use an ironing board for HTV?
It's not ideal. Ironing boards are soft and wobbly, so you can't apply enough pressure. Use a table with a folded towel or a pressing mat.