
How to Apply a Vinyl Decal to a Tumbler or Cup
A vinyl decal can turn a plain tumbler or glass can into a gift in minutes, but curved surfaces are where wrinkles and bubbles happen. The trick is sizing the decal for the curve and applying it from the center out. Here's how.
By the CraftSizer team · Updated 2026-11-16
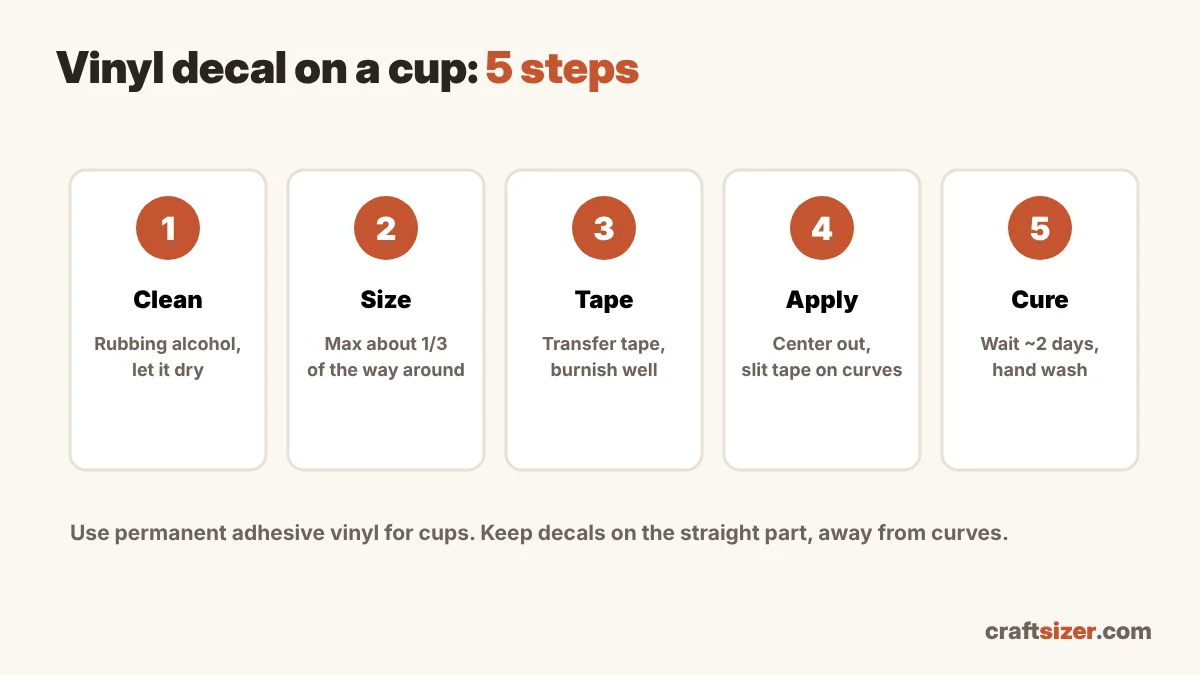
What you need
- Permanent adhesive vinyl (not removable, and not heat transfer vinyl)
- Transfer tape (standard grip for most vinyl; strong grip for glitter)
- A scraper or old gift card
- Rubbing alcohol and a lint-free cloth
- Scissors or a craft knife
Step 1: Size the decal for the curve
A decal looks flat and centered only if it stays on the straight part of the cup and isn't too wide. A good rule: a front decal shouldn't wrap more than about a third of the way around.
| Cup | Front decal (up to) |
|---|---|
| 16 oz glass can | about 2.9 × 4.1 in |
| 24 oz cold cup | about 3.2 × 4.25 in |
| 20 oz skinny tumbler | about 3 × 7 in |
| 30 oz tumbler | about 3.5 × 6 in |
| 11 oz mug | about 3.4 × 3 in |
Typical sizes; cups vary. The cup decal size calculator gives the largest size for your exact cup.
Step 2: Clean the surface
Wipe the area with rubbing alcohol and let it dry completely. Skin oils, soap residue and dust are the main reasons decals lift.
Step 3: Apply transfer tape
After weeding (see how to weed vinyl), lay transfer tape over the decal and burnish firmly with the scraper. Peel the backing away at a low angle; if a letter stays behind, lay it back down and burnish again.
Step 4: Apply from the center out
- Mark the center of the cup with a small piece of tape, or line the decal up with the seam opposite the handle.
- Press the middle of the decal down first.
- Cut small slits in the transfer tape around the decal (not into the vinyl). This lets the tape follow the curve without wrinkling.
- Smooth outward from the center to each side, pushing out air as you go.
- Burnish over the tape, then peel the tape back slowly, flat against the cup.
Step 5: Let it cure
Burnish the decal once more without the tape. Then let the adhesive set for a couple of days before washing. Hand wash only; dishwashers are hard on vinyl.
Fixing common problems
| Problem | Try |
|---|---|
| Wrinkles at the sides | Decal too wide for the curve: size down, and cut slits in the tape |
| Small bubbles | Prick with a fine pin and press the air out |
| Letters won't leave the tape | Burnish longer, or use a lower-tack transfer tape |
| Edges lifting after washing | Clean first, let it cure, hand wash; use permanent vinyl |
Which vinyl?
Always permanent adhesive vinyl for drinkware. See permanent vs removable vinyl. Selling decals or decorated cups? Price them with the vinyl decal pricing calculator.
Frequently asked questions
What vinyl do you use for tumblers?
Permanent adhesive vinyl. Removable vinyl and heat transfer vinyl won't hold up to washing and handling.
How do you put a decal on a curved cup without wrinkles?
Size the decal for the straight part of the cup, apply it from the center out, and cut small slits in the transfer tape around the decal so it follows the curve.
How big should a decal be for a 16 oz glass can?
Up to about 2.9 × 4.1 inches for a front decal, so it stays on the flat front and doesn't wrap out of view.
How long before you can wash a vinyl decal on a cup?
Let it cure for about two days, then hand wash. Dishwashers can make vinyl lift and peel.