
How to Sublimate Socks
Custom socks are a fun, fast-selling sublimation product, and they make great gifts. They're also a little fiddly, because a sock has two sides and a fold. With an insert and two presses, you can get a clean print all the way around. Here's how.
By the CraftSizer team · Updated 2026-11-17
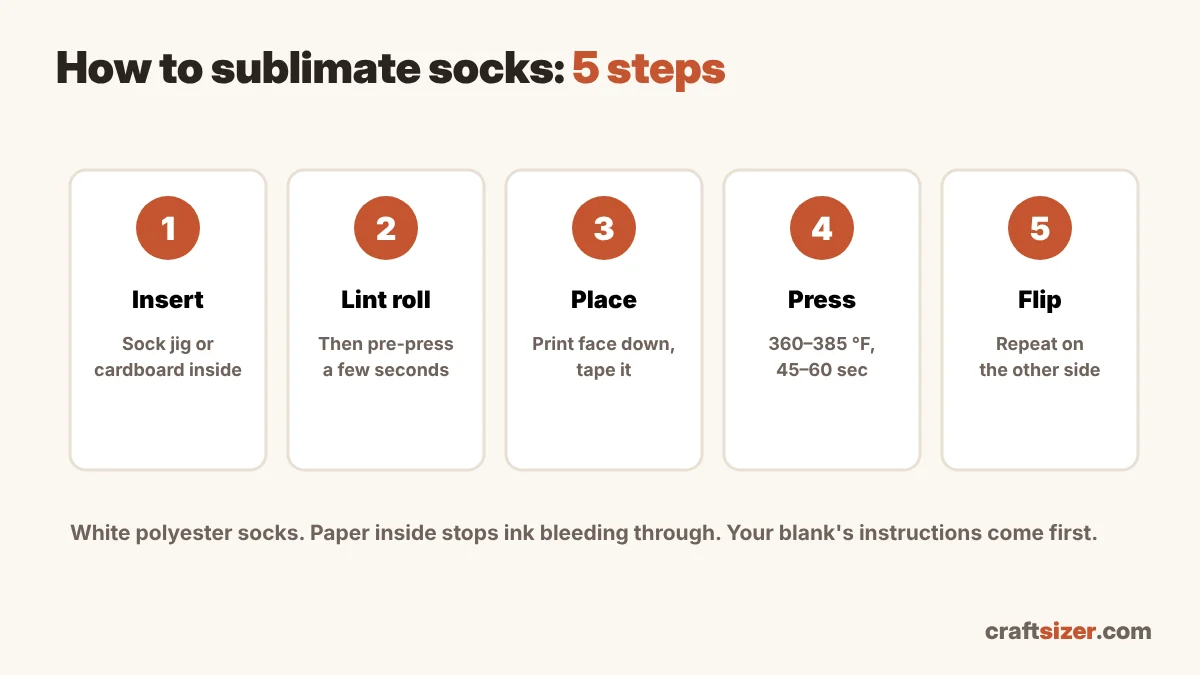
What you need
- Sublimation sock blanks: white or light, high polyester content. Many have a white sole or band.
- A sock jig or insert: a flat form that stretches the sock evenly. Cardboard cut to shape works too.
- Sublimation prints for each side, mirrored
- Heat-resistant tape, butcher paper or plain paper, and a heat press
Settings
| Blank | Temperature | Time | Pressure |
|---|---|---|---|
| Polyester socks | 360–385 °F (182–196 °C) | 45–60 sec per side | Medium |
Common starting point. Socks are thin, so many crafters press them a little cooler than shirts. Your sock blank's instructions come first. Full chart: sublimation time and temperature chart.
Step by step
- Insert the jig. Slide the sock onto the insert so it's flat and lightly stretched, with no wrinkles. Stretching it a little opens up the fibers at the edges, which helps the print reach the fold.
- Lint roll and pre-press for a few seconds with paper on top, to remove moisture and fibers.
- Place the print face down, lined up with the top band or toe, and tape it so it can't move. Put paper on top of the print.
- Press at your settings.
- Flip and repeat with the second print on the other side, using fresh paper.
- Peel the paper straight up, then slide the sock off the insert once it has cooled a little.
Avoiding the white line at the fold
- Make the print a little wider than the flat sock, so it wraps slightly over each edge.
- Use an insert that stretches the sock; a loose sock leaves an unprinted crease.
- Press each side separately rather than trying to print both at once.
- Some crafters design with a white or light stripe at the sides, so any small gap disappears.
Other common problems
| Problem | Try |
|---|---|
| Ink came through to the other side | Keep the insert or a sheet of paper inside the sock while pressing |
| Faded areas | Use a higher-polyester sock; check pressure is even |
| Ghosting or doubled edges | Tape the print firmly; lift the paper straight up |
| Shiny press marks | Lower the pressure slightly; use paper on top |
Designing sock prints
Measure your flat sock on the insert and add a little extra width for the wrap. Print at about 300 pixels per inch (check with the DPI checker). Socks fit easily on letter paper; see the paper size guide. More fixes in sublimation problems and how to fix them.
Frequently asked questions
What temperature do you sublimate socks?
A common starting point is 360 to 385 °F for 45 to 60 seconds per side with medium pressure. Follow your sock blank's instructions first.
How do you avoid the white line on sublimated socks?
Use an insert that stretches the sock, make the print slightly wider than the flat sock so it wraps over the edge, and press each side separately.
Do you need a sock jig to sublimate socks?
It helps a lot. A jig keeps the sock flat and stretched and stops ink bleeding through. Cardboard cut to shape works as a cheap alternative.
What socks can you sublimate?
White or light-colored socks with a high polyester content, sold as sublimation blanks.