
How to Weed Vinyl
Weeding is removing the vinyl you don't want, so only your design stays on the backing. It's the part of a vinyl project that takes patience, and the part where most mistakes happen. A few habits make it much faster and less frustrating.
By the CraftSizer team · Updated 2026-11-15
What you need
- A weeding tool (a hook or a fine pick)
- Tweezers, for tiny pieces
- Good light, or a light pad (very helpful for dark vinyl and small text)
Step by step
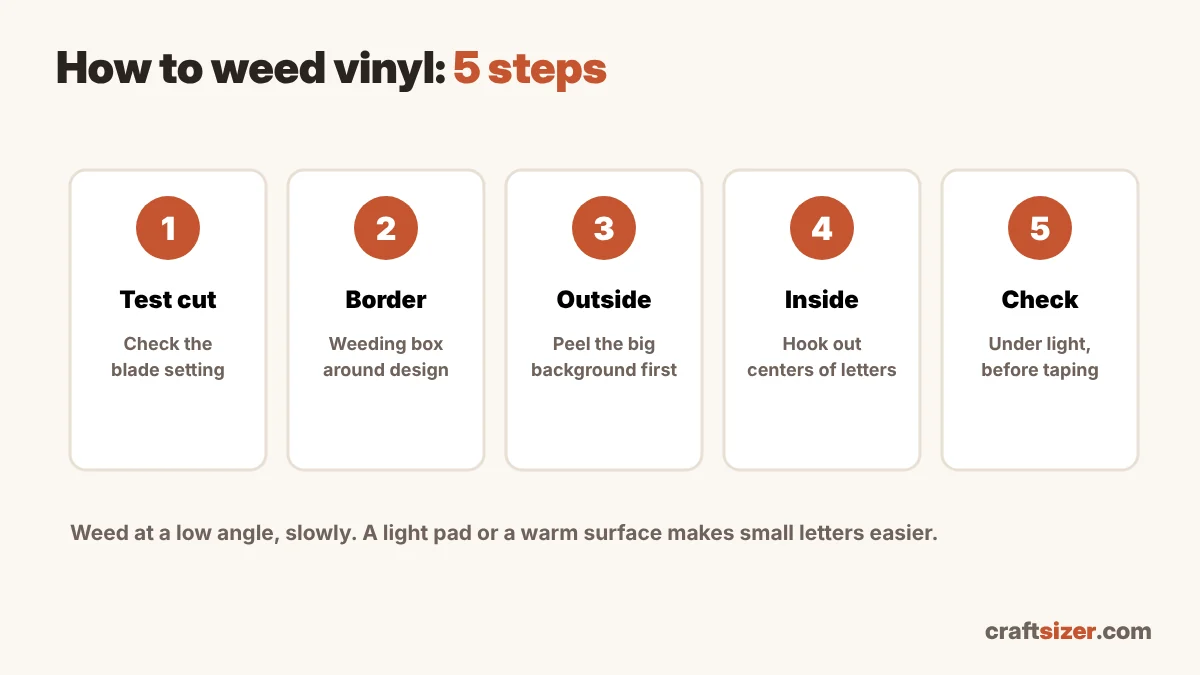
- Do a test cut. Cut a small shape first. If the vinyl lifts with the background or the cut lines aren't fully through, adjust the material setting or pressure before cutting the whole design.
- Add a weeding box. Draw a rectangle around your design (a little bigger than it) and cut it with the design. It gives you a clean edge to start peeling from and keeps scraps small.
- Peel the background first. Start at a corner of the weeding box and pull the extra vinyl back slowly at a low angle, close to the backing. Watch for small pieces of the design lifting with it.
- Weed the insides. Use the hook to lift out the centers of letters like O, A, B, R and e, and any small gaps in the design.
- Check before you tape. Hold it up to the light. Tiny leftover bits are easy to miss and much harder to fix after applying.
Adhesive vinyl vs HTV
| Adhesive vinyl | HTV (iron-on) | |
|---|---|---|
| Cut | Not mirrored, vinyl side up | Mirrored, shiny carrier side down |
| What you weed | Vinyl from a paper backing | Vinyl from a clear, slightly sticky carrier |
| After weeding | Apply transfer tape | No tape: the carrier holds it for pressing |
Tips for tiny letters and detailed designs
- Go a little bigger. Very thin script and text under about half an inch tall is hard to weed and hard to apply. Size up if you can, or choose a bolder font.
- Reverse weed. For very fine designs, put transfer tape on first, flip it over, and peel the backing away; then weed the unwanted pieces off the tape.
- Warm HTV slightly. A little warmth (a few seconds on a warm press or mug warmer) can make HTV release more easily from fine areas.
- Weed from the outside in and press down any letter that starts lifting with your finger as you go.
Common weeding problems
| Problem | Likely cause | Try |
|---|---|---|
| Design lifts with the background | Cut too deep or too shallow, or peeling too fast | Test cut; peel slowly at a low angle |
| Vinyl tears instead of peeling | Cut didn't go fully through | Increase pressure or use "more" pressure setting |
| Cut through the backing | Too much pressure | Use a lighter setting |
| Small pieces won't stay | Design too detailed for the size | Size up, simplify, or reverse weed |
| Jagged or dragged cuts | Dull blade or dirty mat | Clean or change the blade; use a fresh mat |
Plan before you cut
Work out how much vinyl an order uses with the vinyl roll yardage calculator, size cup decals with the cup decal size calculator, and size shirt designs with the HTV shirt design size calculator. Choosing a vinyl? See permanent vs removable vinyl.
Frequently asked questions
What is weeding vinyl?
Weeding is removing the parts of the cut vinyl you don't want, so only your design is left on the backing or carrier sheet.
Do you mirror vinyl before weeding?
Mirror heat transfer vinyl (HTV) before cutting, because it's pressed face down. Don't mirror adhesive vinyl.
Why is my vinyl hard to weed?
Usually the cut didn't go fully through, the blade is dull, or the design is very small. Do a test cut, adjust pressure, and size up tiny text.
What is a weeding box?
A rectangle cut around your design. It gives you a clean edge to start peeling from and makes weeding faster.