
How to Sublimate a Tumbler
A sublimated tumbler is one of the most popular things crafters sell, and the 20 oz skinny is the classic blank to start with. The process is simple once you have the template size right. Here's how to do it from start to finish, with an oven or a tumbler press.
By the CraftSizer team · Updated 2026-11-16
What you need
- A sublimation tumbler (coated stainless steel; plain steel won't work)
- A sublimation printer, ink and paper
- Heat-resistant tape
- A convection oven used only for crafts plus shrink wrap sleeves, or a tumbler press
- Heat-resistant gloves and a heat gun (for shrink wrap)
Step 1: Measure the tumbler
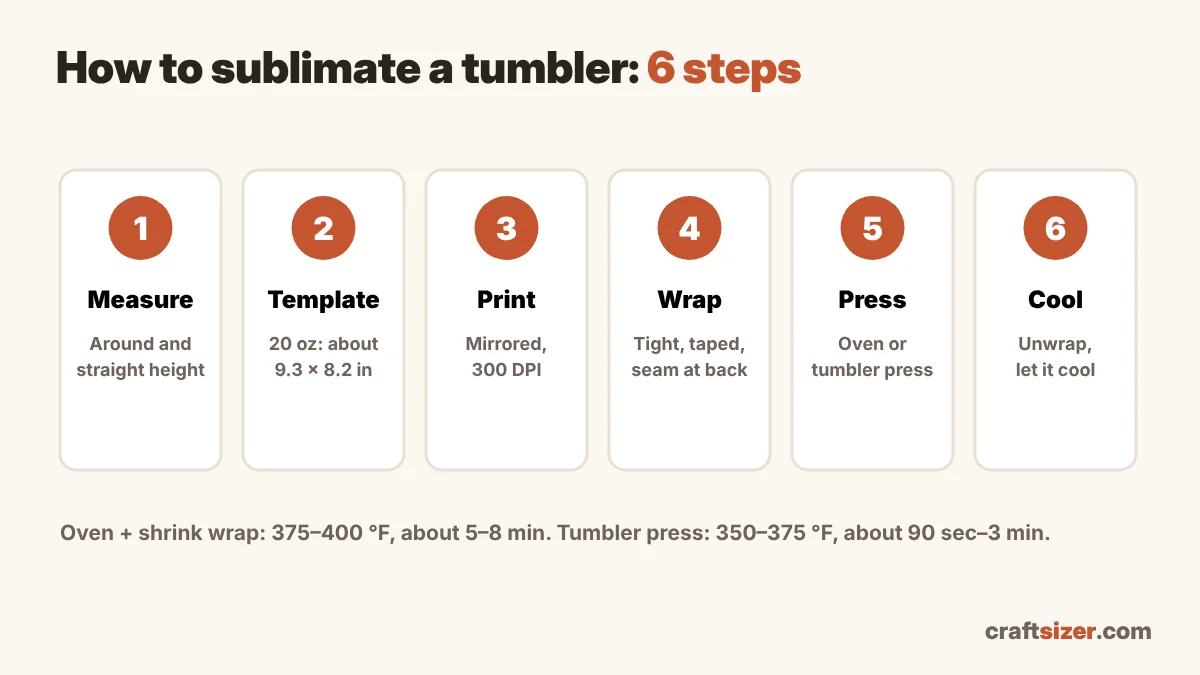
Wrap a strip of paper around the straight part of the tumbler for the circumference, and measure the straight height you can print on (not the rim or the curve at the bottom). Check the top and bottom circumference too: if they differ by more than about 0.1 inch, the tumbler is tapered and needs a curved template. Full guide: how to measure a tumbler.
Step 2: Make the template
| Tumbler | Typical template | Pixels at 300 DPI |
|---|---|---|
| 15 oz skinny straight | about 9.3 × 6.5 in | 2790 × 1950 |
| 20 oz skinny straight | about 9.3 × 8.2 in | 2790 × 2460 |
| 30 oz skinny straight | about 9.77 × 9.5 in | 2931 × 2850 |
The template is the circumference plus about 0.1 inch of overlap, so there's no white line at the seam. The tumbler template calculator does this from your measurements and downloads a 300 DPI template. Tapered? Use the tapered tumbler template generator.
Step 3: Print
Print on the bright white side of the paper, mirrored, at about 300 DPI. A 20 oz wrap fits on letter paper along the 11-inch side; a 30 oz needs 11 × 17. See the paper size guide.
Step 4: Wrap it tight
Trim the print, wrap it around the tumbler with the printed side against the metal, and line up the seam at the back. Tape the seam and both edges firmly. Any gap between paper and tumbler shows up as a blurry or faded patch.
Step 5: Press
| Method | Temperature | Time |
|---|---|---|
| Convection oven + shrink wrap | 375–400 °F (191–204 °C) | about 5–8 min |
| Tumbler press | 350–375 °F (177–191 °C) | about 90 sec – 3 min |
Starting points. Your tumbler's instructions come first.
Shrink wrap: slide the sleeve on and shrink it evenly with a heat gun so it grips the paper all the way around. Tumbler press: center the tumbler and set medium pressure. Not sure which to use? See shrink wrap vs tumbler press.
Step 6: Unwrap and cool
With gloves, remove the tumbler, cut off the shrink wrap and peel the paper straight away. Let the tumbler cool on a heat-safe surface.
Common tumbler problems
| Problem | Likely cause | Try |
|---|---|---|
| White line at the seam | Template too narrow | Add about 0.1 in to the width |
| Faded patches | Paper not tight, or uneven heat | Tape tighter; shrink the wrap evenly |
| Blurry or doubled edges | Paper moved | Tape firmly; peel straight away |
| Design tilts or seam doesn't meet | Tapered tumbler, straight template | Use a curved template |
More fixes in sublimation problems and how to fix them. Selling them? See how to price sublimation tumblers.
Frequently asked questions
What size is a 20 oz skinny tumbler sublimation template?
About 9.3 × 8.2 inches, or 2790 × 2460 pixels at 300 DPI, including a small seam overlap. Measure your tumbler, since brands differ slightly.
How long do you sublimate a tumbler in the oven?
About 5 to 8 minutes at 375 to 400 °F with shrink wrap in a convection oven. Follow your tumbler's instructions first.
How long do you press a tumbler in a tumbler press?
About 90 seconds to 3 minutes at 350 to 375 °F with medium pressure, depending on the press and the tumbler.
Why is there a white line on my sublimation tumbler?
The template was the same width as the circumference, so the paper ends didn't overlap. Add about 0.1 inch to the width.