
How to Press DTF Transfers
DTF transfers are about as close to foolproof as heat transfers get: no cutting, no weeding, just press and peel. Most problems come from a few small things, like pressure that's too light or peeling at the wrong moment. Here's how to press them, step by step.
By the CraftSizer team · Updated 2026-11-10
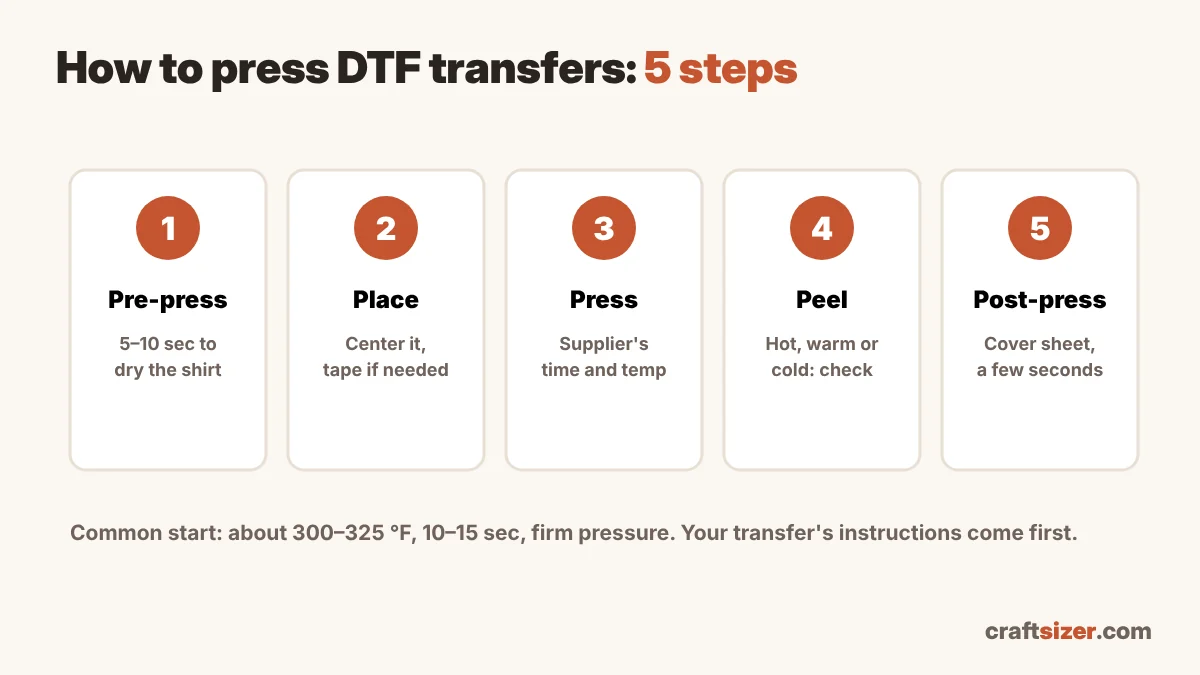
Settings: start with your supplier's
DTF transfers differ between printers, film and powder, so the settings on your transfer's instructions come first. If you don't have any, these are common starting points:
| Setting | Common starting point |
|---|---|
| Temperature | About 300–325 °F (149–163 °C) |
| Time | About 10–15 seconds (longer with a handheld press) |
| Pressure | Medium to firm |
| Peel | Hot, warm or cold, depending on the film |
| Post-press | A few seconds with a cover sheet |
Test one transfer on a scrap shirt if you're trying a new supplier. Polyester can scorch or show dye migration at high heat, so lower temperatures are often recommended for it.
Step by step
- Pre-press the shirt for about 5–10 seconds. It removes moisture and wrinkles, which helps the adhesive grip.
- Place the transfer. Front designs usually start about 3–4 inches below the collar on adult shirts. Use a ruler or fold the shirt to find the center (the placement guide shows how). Heat-resistant tape stops the transfer from shifting, especially with a handheld press.
- Press at your supplier's time and temperature, with firm, even pressure. With a handheld press like an EasyPress, press firmly and keep it still. If the design is bigger than the plate, press it in sections.
- Peel the carrier film at the right moment. Hot peel films come off right away, warm peel after a few seconds, and cold peel only once the transfer has cooled completely. Peel in one smooth motion, low and slow.
- Post-press for a few seconds with parchment paper, a Teflon sheet or a cover cloth on top. It sets the ink into the fabric and gives a softer, more matte finish.
When a DTF transfer won't stick
| Problem | Likely cause | Try |
|---|---|---|
| Design lifts when peeling | Peeled too early, or not enough pressure | Check hot vs cold peel; press again with firmer pressure |
| Edges peel after washing | Not enough heat, time or pressure; no post-press | Press a few seconds longer and always post-press |
| Shiny or stiff finish | Skipped the post-press | Post-press with a cover sheet |
| Scorch marks or a box shape | Too hot, or a press mark from the transfer edge | Lower the heat, or use a pressing pillow |
| Cracking later | Washed too soon, or washed hot | Wait 24 hours; wash inside out, cool |
Care instructions for buyers
- Wait about 24 hours before the first wash.
- Wash inside out in cool or warm water.
- Tumble dry low or hang dry.
- Don't iron directly on the design.
Before you order transfers
Size each design for the garment, then plan your gang sheet so you don't pay for wasted film. The DTF transfer size chart has common sizes, and the DTF gang sheet calculator shows how many fit and the length to order.
Frequently asked questions
What temperature do you press DTF transfers?
Follow your transfer's instructions first. A common starting point is about 300 to 325 °F (149 to 163 °C) for 10 to 15 seconds with medium to firm pressure.
Do you peel DTF transfers hot or cold?
It depends on the film. Hot peel films come off right away, warm peel after a few seconds, and cold peel only once the transfer has cooled completely. Check your supplier's instructions.
Can you press DTF transfers with a Cricut EasyPress?
Yes. Press firmly and keep the press still, often a little longer than with a heat press. Tape the transfer so it doesn't shift, and press large designs in sections.
Why is my DTF transfer peeling off?
Usually there wasn't enough pressure, heat or time, or it was peeled at the wrong moment. Press again with firmer pressure, check the peel type and always post-press.