
Cricut Print Then Cut Not Reading Registration Marks? 8 Fixes
Print Then Cut works by printing a black border of registration marks around your design. Before it cuts, the machine's sensor scans for those marks to find exactly where your image is. When it can't, you get the dreaded "unable to read registration marks" message. The cause is almost always one of a handful of things.
By the CraftSizer team · Updated 2026-11-12
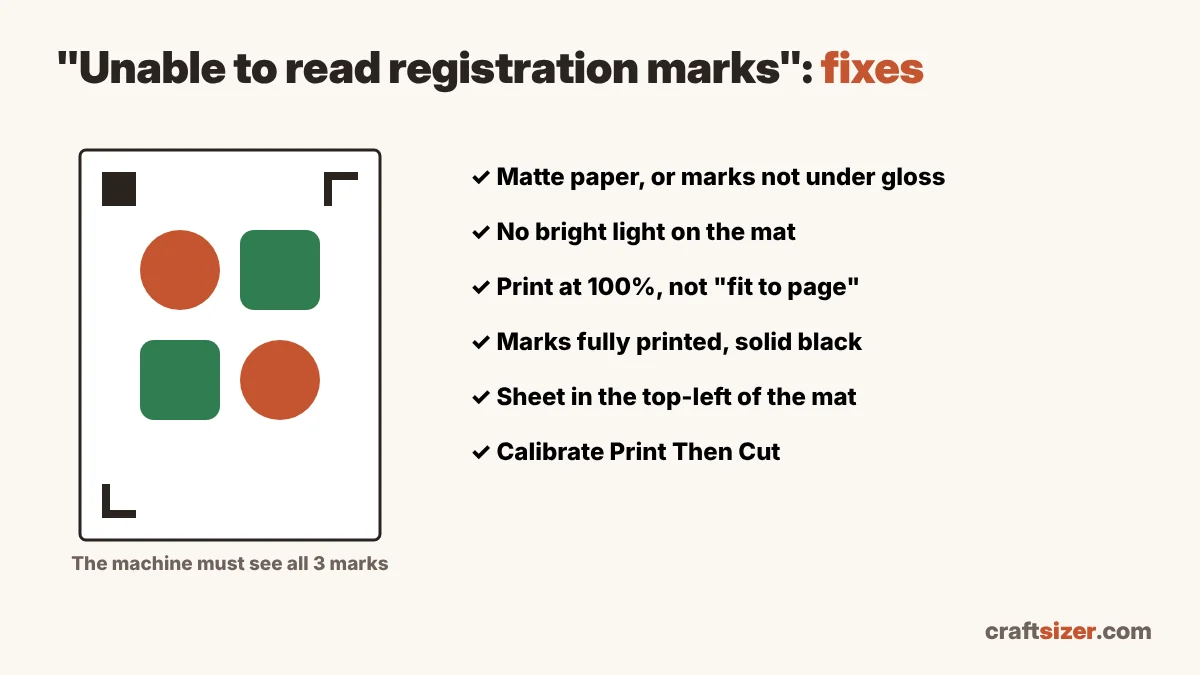
1. Use matte paper, or keep the marks matte
Glossy paper and glossy laminate reflect the sensor's light, so the marks look washed out. Matte sticker paper reads most reliably. If you laminate, trim the laminate so it doesn't cover the marks, or cover the marks with a strip of matte tape.
2. Turn down the lights
Bright overhead lights, a lamp right above the machine or sunlight on the mat can confuse the sensor. Try closing the curtains or switching off the light directly over the Cricut, then scan again.
3. Print at 100%, not "fit to page"
If your printer shrinks the page to fit, the marks end up in slightly the wrong place. In the print dialog, set scaling to 100% or "actual size" and turn off any "fit to page" or "borderless" options. Turning on Use System Dialog in Design Space lets you check these settings.
4. Make sure the marks printed fully
The marks should be solid black, unbroken and not cut off at the edge. Low ink, a "draft" or "eco" print mode, or a printer that can't reach close to the edge can all leave faint or missing marks. Use a normal or high quality setting.
5. Put the sheet in the top-left corner
Line the paper up with the top-left corner of the mat grid, exactly like the preview on the Make screen. A sheet placed in the middle of the mat, or crooked, can put a mark outside the area the sensor scans.
6. Keep the design inside the print area
The classic Print Then Cut limit is 6.75 × 9.25 in on letter paper; newer versions of Design Space allow a larger area with the corners kept clear. If the design is too big, Design Space won't let you continue, and very full sheets can crowd the marks. Check sizes in the Print Then Cut calculator.
7. Check the mat and sensor area
A dirty or curled mat, or paper that lifts at the corners, can throw off the scan. Press the sheet down flat, and gently wipe any dust or paper fibers from around the machine's sensor window.
8. Calibrate Print Then Cut
If the machine finds the marks but cuts are off the design, run the Print Then Cut calibration in Design Space (in the menu, under Calibration). You usually only need to do this once, and again after big Design Space updates.
Quick checklist
| You see | Try first |
|---|---|
| "Unable to read registration marks" every time | Matte paper, dimmer light, 100% print scale |
| Works on plain paper but not stickers | The sticker or laminate surface is too shiny |
| Reads the marks, but cuts are off | Calibrate; check the sheet is in the top-left |
| Fails only on large designs | Shrink the design or the layout so the marks have room |
New to Print Then Cut? See how to make stickers with a Cricut and how to make waterproof stickers.
Frequently asked questions
Why can't my Cricut read registration marks?
Usually because the paper or laminate is glossy, there's bright light on the mat, the page was printed scaled to fit, or the marks didn't print fully. Try matte paper, dim the lights and print at 100%.
Can you laminate stickers before Print Then Cut?
Yes, but glossy laminate over the marks often stops the sensor reading them. Trim the laminate so the marks stay uncovered, or cover the marks with matte tape.
Does Print Then Cut work with glossy sticker paper?
Sometimes, but it's less reliable. Matte paper reads best. If you use glossy, try dimmer light and make sure the marks print solid black.
How do I calibrate Print Then Cut?
In Design Space, open the menu and choose Calibration, then Print Then Cut, and follow the steps. You usually only need to do it once.