
How to Use a Heat Press (Beginner Guide)
A heat press is the workhorse of a craft business: shirts, totes, hats, keychains and more all go through it. Using one is simple, but three settings decide every result: temperature, time and pressure. Here's how to set them and the habits that save you from ruined blanks.
By the CraftSizer team · Updated 2026-11-15
The three settings
- Temperature: how hot the upper platen gets. Too low and transfers don't stick or colors are pale; too high and you scorch fabric or melt vinyl.
- Time: how long the press stays closed.
- Pressure: how hard the press clamps down. Most presses have a knob; "medium" means you close the handle with moderate effort.
Every material comes with its own settings. Always start with those, then adjust in small steps.
Common starting settings
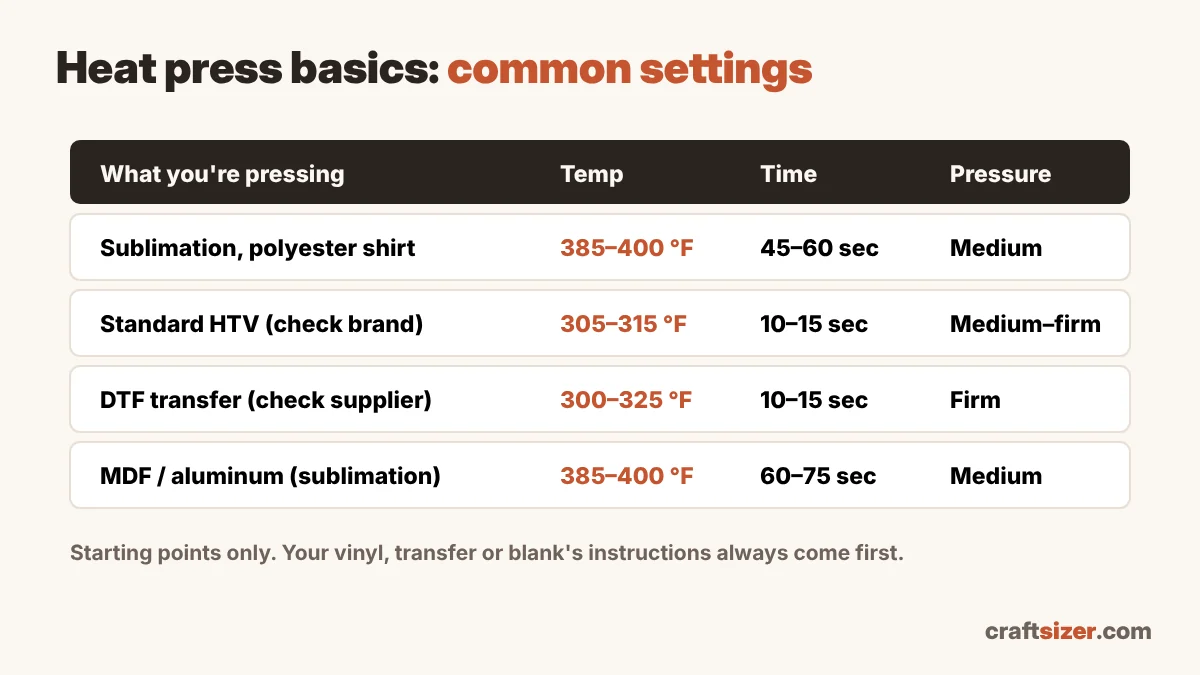
| What you're pressing | Temperature | Time | Pressure |
|---|---|---|---|
| Sublimation on a polyester shirt | 385–400 °F | 45–60 sec | Medium |
| Standard HTV (check your brand) | about 305–315 °F | 10–15 sec | Medium–firm |
| DTF transfer (check your supplier) | about 300–325 °F | 10–15 sec | Firm |
| Sublimation on MDF or aluminum | 385–400 °F | 60–75 sec | Medium |
Starting points only: HTV in particular varies by type (glitter, foil and specialty vinyls often need different settings). Full sublimation chart for 21 blanks: sublimation time and temperature chart.
Step by step
- Heat up. Set the temperature and let the press reach it. Many presses read a little differently from the real temperature; an inexpensive infrared thermometer helps you learn yours.
- Set the pressure with the blank in place, since thicker items need less adjustment than thin ones.
- Pre-press fabric for about 5–10 seconds to remove moisture and wrinkles.
- Position the design. Front designs usually start 3–4 inches below the collar on adult shirts (see the placement guide). Use heat tape so it can't shift.
- Cover it. Put a Teflon sheet, parchment paper or butcher paper on top to protect the design and the platen.
- Press for the set time, then open the press smoothly.
- Peel hot, warm or cold, depending on your vinyl or transfer.
Habits that prevent problems
- Use a pressing pillow for shirts with seams, zippers or buttons, so pressure stays even and you avoid box marks.
- Protect your platen. Sublimation ink and stray adhesive can stick to it; a cover sheet every time prevents that.
- Test one first whenever you change blanks, vinyl or supplier.
- Write down settings that work for each product. Your press is unique.
- Mind safety: the platen is extremely hot; keep it away from children and pets and never leave it on unattended.
Heat press, EasyPress or mug press?
A flat clamshell or swing-away press is best for shirts and flat blanks, with even pressure and accurate timing. Handheld presses like the EasyPress are portable and great for occasional projects but need firm, steady pressure and often a little more time. Mugs and tumblers need a mug or tumbler press, or a convection oven with shrink wrap; see shrink wrap vs tumbler press.
Sizing your designs
Get the right size for each shirt with the shirt design size calculator. Pressing DTF? See how to press DTF transfers. Sublimating? See how to sublimate a shirt.
Frequently asked questions
What temperature should a heat press be?
It depends on the material. Sublimation on polyester often starts at 385 to 400 °F, standard HTV around 305 to 315 °F, and DTF transfers around 300 to 325 °F. Always follow your material's instructions first.
What does medium pressure mean on a heat press?
Closing the handle takes moderate effort: firm, but not a struggle. Adjust the pressure knob with your blank in place.
Do you need to pre-press a shirt?
Yes. A 5 to 10 second pre-press removes moisture and wrinkles, which helps transfers stick and prevents blotchy sublimation prints.
What do you put on top when heat pressing?
A Teflon sheet, parchment paper or butcher paper. It protects the design and keeps ink or adhesive off the heat platen.