
How to Layer HTV (Heat Transfer Vinyl)
Multi-color HTV designs look great, but layering is where many crafters run into trouble: shrinking layers, misaligned colors, or a stiff, bulky patch on the shirt. The secret is mostly in the press times. Here's how to layer heat transfer vinyl cleanly.
By the CraftSizer team · Updated 2026-11-12
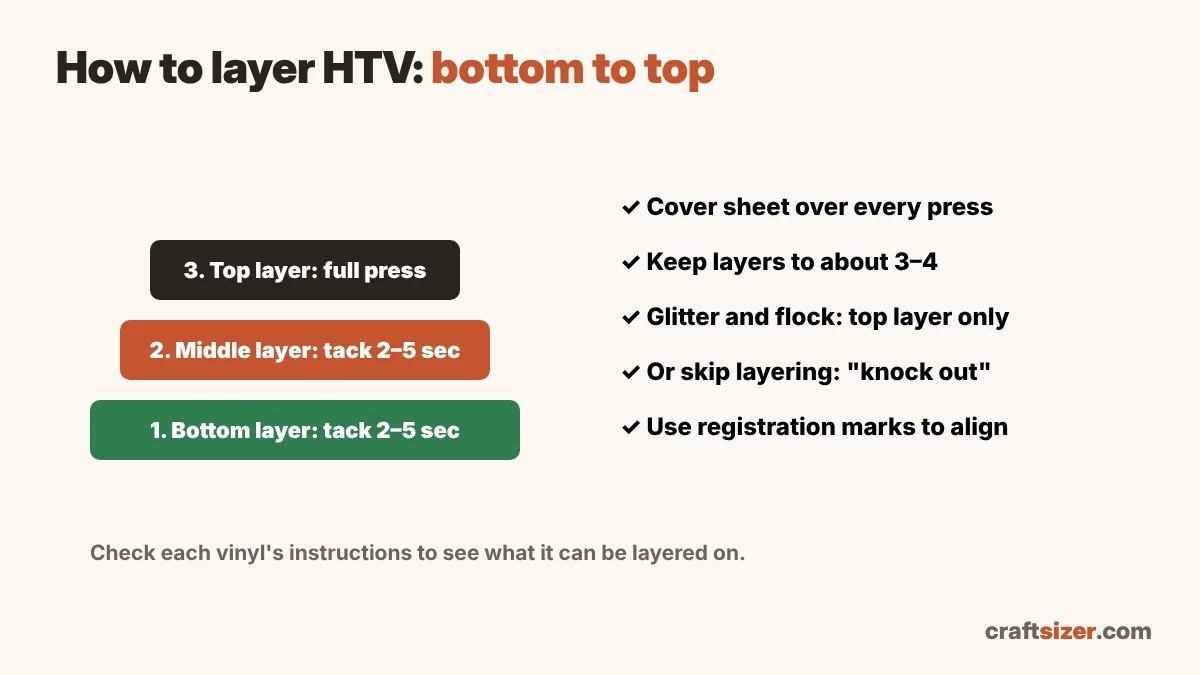
The basic method
- Plan the order. Decide which color sits at the bottom. Usually it's the largest background shape, with details on top.
- Cut each color mirrored, shiny carrier side down. Add the same small square or line to every layer as a registration mark if you want easy alignment.
- Pre-press the shirt for a few seconds to remove moisture and wrinkles.
- Tack the bottom layer with a short press, about 2–5 seconds, just long enough to stick. Peel the carrier as your vinyl directs.
- Add the next layer, line it up, and tack it for 2–5 seconds too. Repeat for each layer.
- Give the final layer the full press at your vinyl's time and temperature, with a cover sheet (parchment paper or a Teflon sheet) over the whole design.
Why short presses? Each press heats the layers below again. Too many full presses can shrink or scorch the bottom layers and make the design stiff.
What can be layered?
| Vinyl type | Layering |
|---|---|
| Standard / smooth HTV (like EasyWeed or Everyday Iron-On) | Can usually be layered on, and on top of, each other |
| Glitter HTV | Top layer only: nothing sticks well on its rough surface |
| Flock HTV | Top layer only |
| Holographic, metallic, foil | Often top layer only; check the brand |
| Sublimation HTV | Usually used as a single layer |
Always check each vinyl's instructions: some brands list exactly what can go underneath.
How many layers?
About 3–4 layers is a practical limit for most HTV. Beyond that, the design gets thick and stiff, and the bottom layers have been heated many times.
The knockout method (no stacking)
Instead of stacking colors, you can cut the top color's shape out of the layer underneath, so each color sits directly on the shirt next to the others. It takes a little more design work, but the result is thinner, softer and more flexible. It's handy for large designs and for vinyls that can't be layered.
Lining layers up
- Registration marks: add a small shape in the same spot on every layer, cut it, and use it to line up each color. Trim it off before the final press.
- Leave the carrier on the layers underneath while you position the next one, if your vinyl allows; it shows you where everything sits.
- Size first. Get the overall design size right before you cut anything. The HTV shirt design size calculator gives the width and height for each shirt.
Plan your vinyl
Each color is cut from a different sheet, so work out how much of each you need with the vinyl yardage calculator. Too many colors? DTF transfers print full color with no layering at all.
Frequently asked questions
How long do you press each layer of HTV?
Tack each lower layer for about 2 to 5 seconds, just long enough to stick, then give only the final layer the full press at your vinyl's time and temperature.
Can you layer glitter HTV?
Glitter HTV should go on top only. Its rough surface doesn't give other vinyl a good surface to stick to.
How many layers of HTV can you do?
About 3 to 4 layers is a practical limit. More than that makes the design thick and stiff, and the bottom layers get heated too many times.
What is the knockout method for HTV?
Instead of stacking colors, you cut the top color's shape out of the layer underneath, so every color sits directly on the shirt. It's thinner and softer than layering.